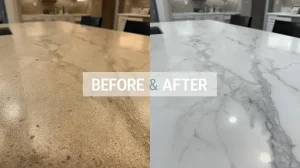
You’ve done it. You successfully painted your cabinets using our DIY Cabinet Painting Guide, and you even installed brand new, modern Cabinet Hardware. Your kitchen looks ten years younger.
But then you look at your kitchen sink.
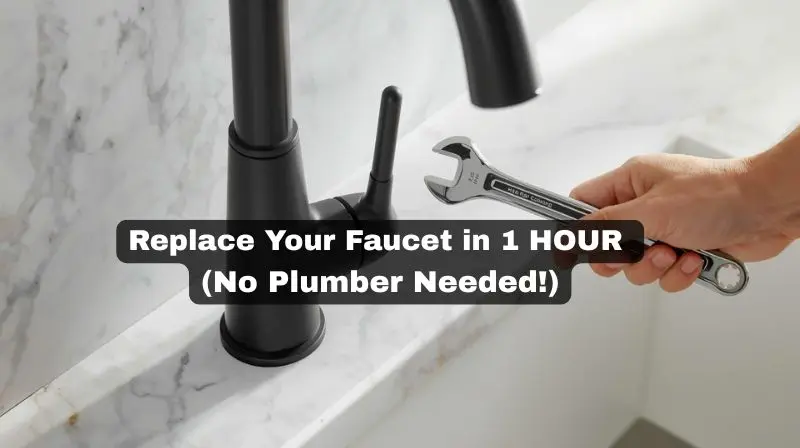
Sitting there, right in the middle of your beautiful new kitchen, is an old, crusty, leaky, chrome faucet from 1998. It ruins the whole aesthetic.
You know you need a new one, but the thought of calling a plumber makes your wallet hurt. A plumber will easily charge you $150 to $300 just for the labor to swap it out.
Here is a secret that plumbers don’t want you to know: Replacing a kitchen faucet is one of the easiest DIY plumbing jobs in existence. If you can turn a wrench and follow simple instructions, you can do this yourself in under an hour.
In this beginner-friendly guide, I am going to walk you through exactly how to remove that old dinosaur and install a sleek new faucet without flooding your kitchen.
What You Need (The Tool List)
Before you crawl under the sink, gather your supplies. You do not need a massive toolbox for this.
-
A New Faucet: Make sure you know how many “holes” your sink has (1, 2, 3, or 4). If your new faucet is a single-hole design but your sink has three holes, ensure your new faucet comes with an “escutcheon plate” (the long metal base plate) to cover the extra holes.
-
An Adjustable Wrench (Crescent Wrench)
-
A Bucket and Old Towels
-
Plumber’s Tape (Teflon Tape)
-
Safety Glasses (Because dirty water will inevitably drip near your face).
-
Optional but helpful: A Basin Wrench. This is a special tool with a long handle designed to reach high up behind the sink bowl. If your sink is tight, this tool is a lifesaver.
Step 1: Turn Off the Water (Crucial!)
Do not skip this, or you will have a geyser in your kitchen.
-
Clear everything out from under your kitchen sink.
-
Look for the two shut-off valves attached to the pipes coming out of the wall (one for hot, one for cold).
-
Turn both valves clockwise (to the right) until they stop completely.
-
Test it: Turn on your current kitchen faucet. If no water comes out, you are safe to proceed.
Step 2: Disconnect the Supply Lines
Place your bucket and towels directly under the water lines to catch any residual water.
-
Using your adjustable wrench, loosen the nuts connecting the faucet’s supply lines (the flexible hoses) to the shut-off valves on the wall.
-
Let any trapped water drain into the bucket.
Step 3: Remove the Old Faucet
This is usually the hardest part because old nuts can be rusted or stuck.
-
Put on your safety glasses, lie on your back, and slide under the sink. Look straight up behind the sink bowl.
-
You will see the mounting nuts holding the old faucet to the countertop.
-
Use your adjustable wrench (or your Basin Wrench) to loosen and remove these nuts.
-
Once the nuts are off, crawl out, grab the faucet from the top of the counter, and pull it straight up and out.
-
Pro Tip: Take a sponge and scrape away the ring of old, gross grime that was hiding underneath the old faucet. Start with a clean surface!
Step 4: Install the New Faucet
Every brand (Moen, Delta, Kohler) is slightly different, so always read the manufacturer’s instruction manual that came in the box. However, the basic steps are universally the same:
-
Feed the new hoses down through the hole in the sink/countertop. (If you are using the base plate to cover extra holes, make sure it is in place first).
-
Crawl back under the sink.
-
Slide the new washer and mounting nut up the hoses and thread them onto the base of the faucet shank.
-
Tighten the nut by hand, have someone up top make sure the faucet is perfectly straight, and then give it a final tightening with your wrench. Do not overtighten and crack your sink!
Step 5: Reconnect the Water Lines
-
Wrap the threads of your wall shut-off valves with 2-3 layers of Plumber’s Tape (wrap clockwise).
-
Attach the new supply lines to the valves. Important: Make sure you connect the Hot hose to the Hot valve, and Cold to Cold! (The hot valve is traditionally on the left).
-
Tighten the nuts with your wrench until snug.
Step 6: Test for Leaks
You are almost done.
-
Slowly turn the hot and cold shut-off valves counter-clockwise to turn the water back on.
-
Grab a flashlight and stare at your connections under the sink for 60 seconds. Run your finger along the pipes. If it is completely dry, you did it! If there is a drip, slightly tighten the nut with your wrench until it stops.
-
Go up top and turn on your new faucet. Let it run for a minute to flush out any air or debris.
Conclusion: You Are Now a DIY Plumber
Congratulations! You just saved yourself a couple of hundred dollars and massively upgraded the look and function of your kitchen.
Upgrading fixtures is one of the highest ROI (Return on Investment) projects you can do in a home. Now that your kitchen is looking sharp, what’s next? If you are feeling confident with tools, maybe it’s time to tackle the walls. Check out our guide on creating a DIY Board and Batten Accent Wall to bring some high-end architecture into your dining space!