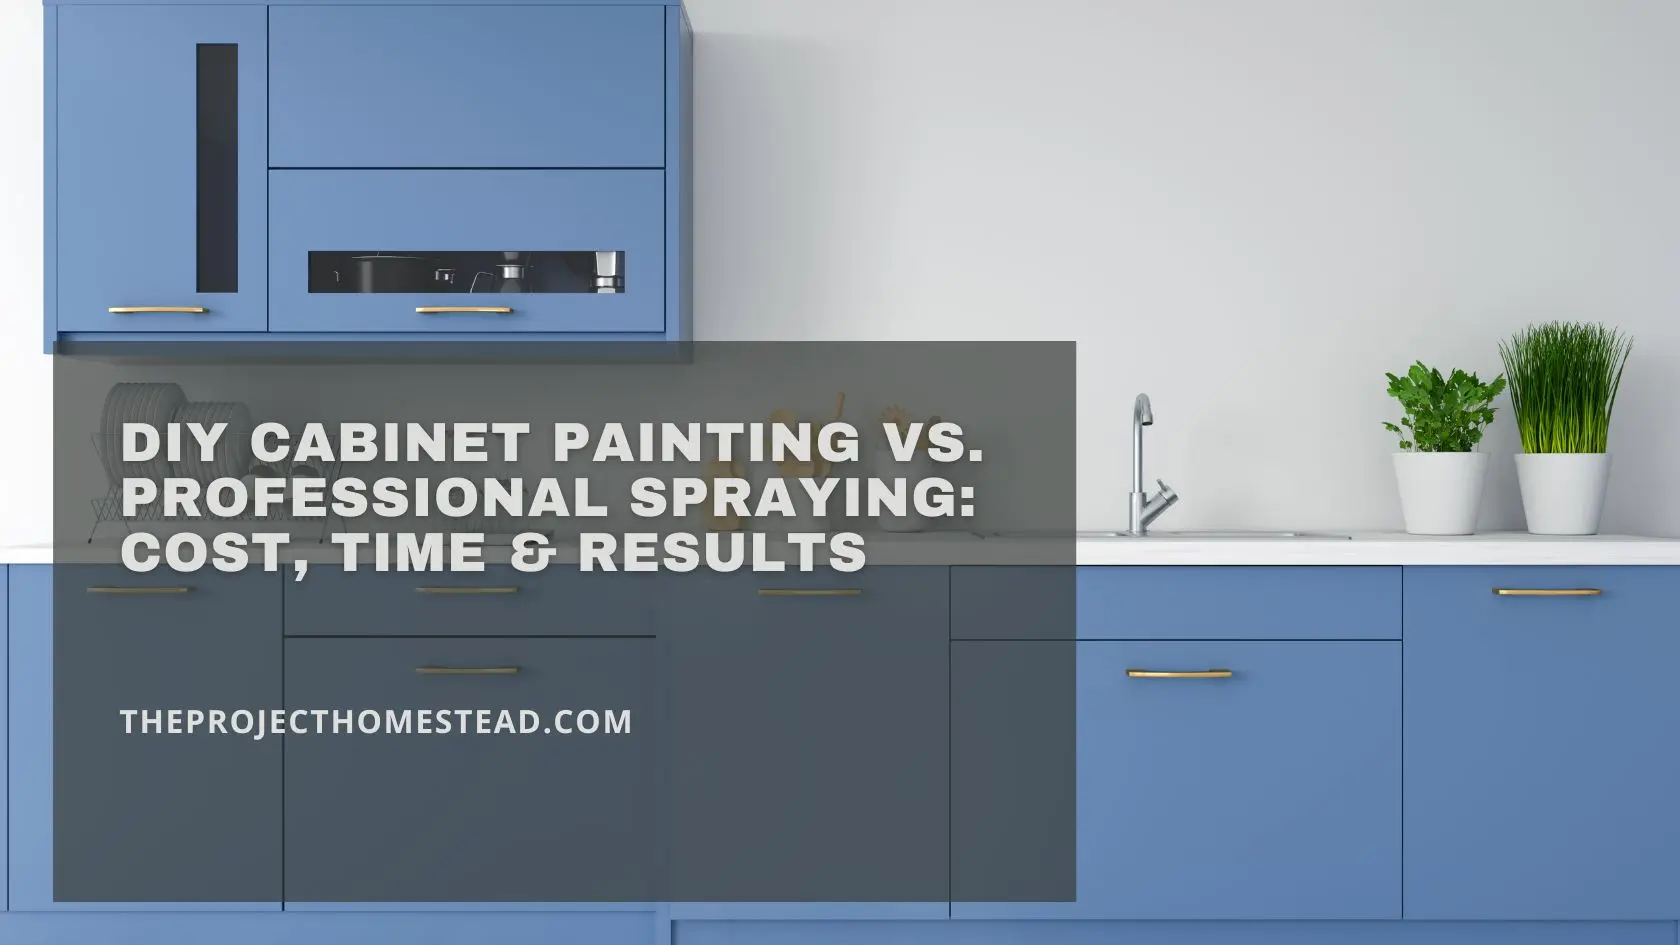
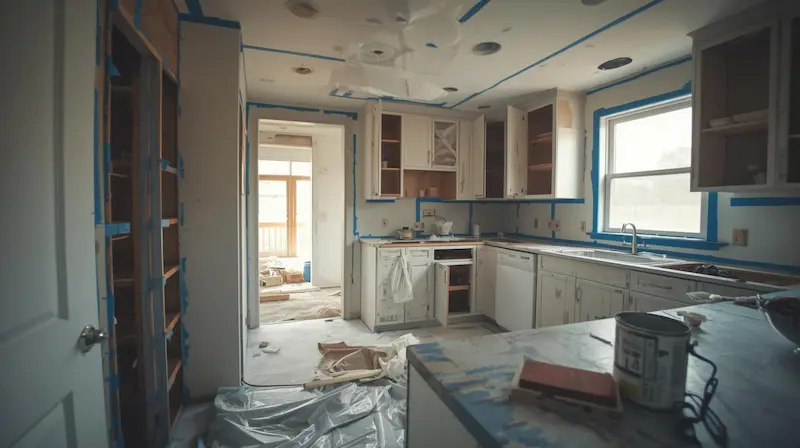
If you are reading this, you are probably staring at a kitchen full of “Honey Oak” or “Builder Grade Orange” cabinets. The layout is fine. The boxes are sturdy. But that color? It screams 1998.
You know that a full kitchen renovation—ripping out cabinets and buying new ones—costs anywhere from $15,000 to $50,000. That’s not in the budget. So, the solution is obvious: Paint them.
But here comes the big dilemma. Do you tackle this beast yourself with a roller and a prayer to save money? Or do you bite the bullet and hire a professional spray crew?
I have done both. I have spent two weeks covered in sanding dust in my own kitchen, and I have hired pros for client projects. I can tell you that DIY kitchen cabinet painting vs. professional spraying is not just a difference in price. It is a difference in chemistry, durability, and sanity.
In this guide, we are going to strip away the marketing fluff. We will look at the real costs, the actual time commitment, and the brutal truth about the finish quality you can expect from both methods.
Let’s help you make the right choice for your home (and your marriage).
The Contenders: Defining the Methods
Before we fight, let’s define exactly what we are comparing.
Option 1: The DIY Approach (Rolling & Brushing)
When we say “DIY Cabinet Painting,” we typically mean removing the doors, sanding them, and applying a specialized cabinet paint (like Benjamin Moore Advance or Sherwin Williams Emerald Urethane) using a high-density foam roller and a high-quality sash brush.
-
The Goal: A durable, brush-stroke-free finish achieved through elbow grease and good technique.
Option 2: The Professional Approach (Spraying)
When you hire a legitimate cabinet refinishing company (not just a handyman with a brush), they remove the doors and take them to an off-site spray booth. They spray the boxes on-site. They typically use Industrial Wood Coatings (like 2K Polyurethanes or Conversion Varnish)—products that homeowners literally cannot buy.
-
The Goal: A factory-hard, perfectly smooth finish that looks brand new, not “painted.”
Round 1: The Cost Breakdown
This is usually the deciding factor for 90% of homeowners. The price gap is massive.
The Cost of DIY
If you do it yourself, you are paying for materials and tools. You are not paying for labor (unless you count the cost of ordering pizza because your kitchen is out of commission).
Typical DIY Material List:
-
Premium Cabinet Paint (2-3 gallons): $150 – $300
-
High-Adhesion Primer (1-2 gallons): $60 – $100
-
Supplies (Sandpaper, TSP, tack cloth, tape, plastic, rollers, brushes): $150 – $200
-
Hardware (new hinges/knobs – optional but recommended): $100 – $300
Total DIY Cost: $450 – $900
The Cost of Professional Spraying
Professional pricing varies by region (New York is more expensive than Ohio), but it is generally calculated “per opening” (each door and drawer front counts as one opening).
-
Average cost per opening: $100 – $175.
-
Average medium-sized kitchen (30 openings): $3,000 – $6,000.
-
Large kitchens or complex glazing/finishes: $8,000 – $12,000.
The Verdict: There is no contest here. DIY is roughly 10% to 15% of the cost of hiring a pro. If your budget is tight, DIY is the only path.
Round 2: The Time Commitment & Disruption
This is where the DIY dream often turns into a nightmare. Do not underestimate how long this takes.
The DIY Timeline
Painting cabinets is not a weekend project. It is a marathon.
-
Prep (Cleaning/Sanding): 2-3 Days. This is physically exhausting.
-
Priming: 1-2 Days (plus dry time).
-
Painting (2 coats): 3-4 Days. Most hybrid-enamel paints require 16-24 hours of cure time between coats.
-
Re-hanging: 1 Day.
Total DIY Time: 2 to 3 Weeks.
-
The Disruption: Your kitchen will be a construction zone. Doorless cabinets, fumes, and dust everywhere. You will be washing dishes in the bathtub.
The Professional Timeline
Pros work in teams, and they use fast-drying products.
-
Day 1: They arrive, remove doors/drawers (take them to the shop), and mask off the kitchen to spray the boxes.
-
Day 2: They spray the frame/boxes on-site.
-
Day 3-4: They are spraying doors at their shop (you have your kitchen back, mostly).
-
Day 5: Re-installation.
Total Pro Time: 4 to 5 Days.
-
The Disruption: Minimal. You lose access to the kitchen for maybe 2 days while the boxes are sprayed.
The Verdict: If you need it done fast (e.g., you are moving in next week, or have a baby on the way), Professional Spraying wins hands down.
Round 3: Finish Quality and Texture
This is the most controversial round. Can a roller really look as good as a sprayer?
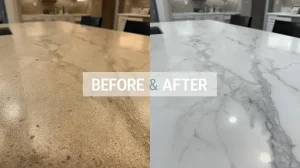
The “Orange Peel” vs. “Glass” Effect
-
DIY (Roller): Even with the best “self-leveling” paint and a mohair roller, you will get some texture. We call this stippling or subtle orange peel. It looks like a painted surface. It can look beautiful and high-end, but if you look closely at an angle, you will see the texture.
-
Pro (Spray): A professional spray gun atomizes the paint into microscopic droplets. When applied correctly, these droplets merge together to form a perfectly flat, glass-like surface. There are no brush marks. There is no texture. It looks like it came from a factory.
The Grain Issue (Oak Cabinets)
If you have 1990s oak cabinets, they have a deep wood grain texture.
-
DIY: Paint alone will not hide the grain. The grain will show through the paint. To hide it, you must manually “fill” the grain with wood filler or specialized grain filler putty before priming. This adds 20+ hours of labor to your DIY project. Most DIYers skip this and accept the grain look.
-
Pro: Good pros include grain filling in their quote (or offer it as an upgrade). Their high-build primers are also much better at filling grain than store-bought primers.
The Verdict: If you are a perfectionist who demands a factory-smooth finish, Professional Spraying is the only way. If you are happy with a “hand-crafted” look that looks great from 2 feet away, DIY is fine.
Round 4: Durability (The Science Part)
Here is the secret that paint companies don’t explicitly tell you: The paint you buy at the store is not the same as the paint pros use.
DIY Products (Consumer Grade)
You will likely use a Waterborne Alkyd Enamel (like BM Advance).
-
Pros: Low VOC, easy to clean up with water, levels well.
-
Cons: It takes 30 days to fully “cure” (harden). During that first month, it is soft and easy to scratch. Even fully cured, it is susceptible to chipping if banged with a pot or pan. It is durable, but it’s still paint.
Pro Products (Industrial Grade)
Pros use 2K (Two-Component) Polyurethanes or Conversion Varnish.
-
The Difference: These products require a hardener (catalyst) to be mixed in right before spraying. This creates a chemical reaction.
-
Durability: Once dry (which happens in minutes, not hours), the finish is incredibly hard. It is chemical resistant, heat resistant, and scratch resistant. It essentially coats your wood in plastic armor.
-
Why can’t you buy it? It requires serious respiratory protection/ventilation and specialized spray equipment to apply safely.
The Verdict: Professional finishes will last longer. A DIY paint job, if done well, can last 5-7 years before needing touch-ups. A Pro finish can last 15-20 years.
The Hybrid Option: “Can I Spray It Myself?”
I hear this all the time: “Claire, I’ll just buy a $200 HVLP sprayer from Home Depot and get the pro look for the DIY price!”
Proceed with extreme caution.
Spraying is an art form. It requires:
-
Perfect viscosity: You have to thin the paint just right. Too thick? It clogs. Too thin? It runs and drips.
-
Technique: If you spray too heavy, you get drips. Too light, you get a rough “dry spray” texture.
-
Prep Overkill: When you roll, you cover the floor. When you spray, you have to cover everything. The overspray floats in the air and settles on your appliances, your ceiling, and your lungs.
My Advice: If you have never held a spray gun, your kitchen cabinets are not the place to learn. Stick to rolling, or practice on a garage dresser first.
The Decision Matrix: Which Path Should You Take?
Still on the fence? Here is your cheat sheet.
Choose DIY Painting If:
-
Budget is your #1 priority. You simply cannot spend $4,000.
-
You have time. You can spare 3-4 weekends and don’t mind a messy kitchen.
-
You are patient. You are willing to sand, clean, and sand again.
-
You accept imperfection. A few brush marks or visible grain won’t keep you up at night.
-
The cabinets are older. If the cabinets are cheap particle board, spending $5k to paint them isn’t worth it. DIY is a better ROI.
Choose Professional Spraying If:
-
You want a “Brand New” look. You want the neighbors to think you bought new cabinets.
-
You have the budget. You view this as an investment in your home’s value.
-
You are busy. You work full time and can’t sacrifice a month of weekends.
-
You have high-quality wood cabinets. If your cabinet boxes are solid maple or cherry, they deserve a premium finish that honors their quality.
-
You are selling the house soon. A poor DIY paint job can actually lower home value. A pro job increases it.
Claire’s Final Pro Tip: The “Door Swap” Hack
If you hate your current door style (like those arched “cathedral” top doors) but the boxes are fine, painting them won’t fix the shape.
Consider a third option: Refacing. You can order brand new, unfinished “Shaker Style” doors online for $50-$80 each.
-
DIY: Paint the existing cabinet boxes yourself (since there are few of them, it’s fast).
-
Buy: Buy new doors pre-painted or paint them yourself easily on a flat table.
-
Install: Hang the new doors.
This gives you a brand-new kitchen style for a middle-ground price (approx $1,500 – $2,000).
Conclusion
There is no shame in DIY. I have painted three kitchens myself, and I loved the result every time because the sweat equity made it feel like mine. But I also know the relief of writing a check and coming home to a perfect kitchen a week later.
Be honest with yourself about your budget, your patience, and your expectations. Whether you pick up a brush or a phone, saying goodbye to that orange oak is always the right decision.